Днес ще ви покажа как направих обици от копчета и тел.
Today, I'm going to show you how I made some button and wire earrings.

Материали за две различни копчета:
- по едно копче 2 и 3 см
- мека тел 0.6 мм - две парчета по 30 см и едно - 10 см
- кукички за обици (вербила)
- плоски клещи, кръгли клещи, клещи резачки
Materials for two different buttons:
- two buttons 0.8 and 1.2 inches each
- two 12-inch pieces and one 4-inch piece of 22 Ga soft wire
- ear wires
- flat nose pliers, round nose pliers, wire cutters
Копче с четири дупки - правите нещо като кука в единия край на късото парче тел. Късият край трябва да влиза в дупката, но да не се показва от другата страна (ако се наложи, отрязвате стърчащото крайче). Промушвате тази кука през две отсрещни дупки от лицевата страна на копчето, прегъвате дългия край нагоре и го притискате към обратната страна на копчето.
Four-hole button - bend the short piece of wire at one end to make something like a hook. The short end should not protrude at the back (you will have to cut it, if it does). Push that hook through two opposite holes from front to back, bend the long end up and press against the back of the button.

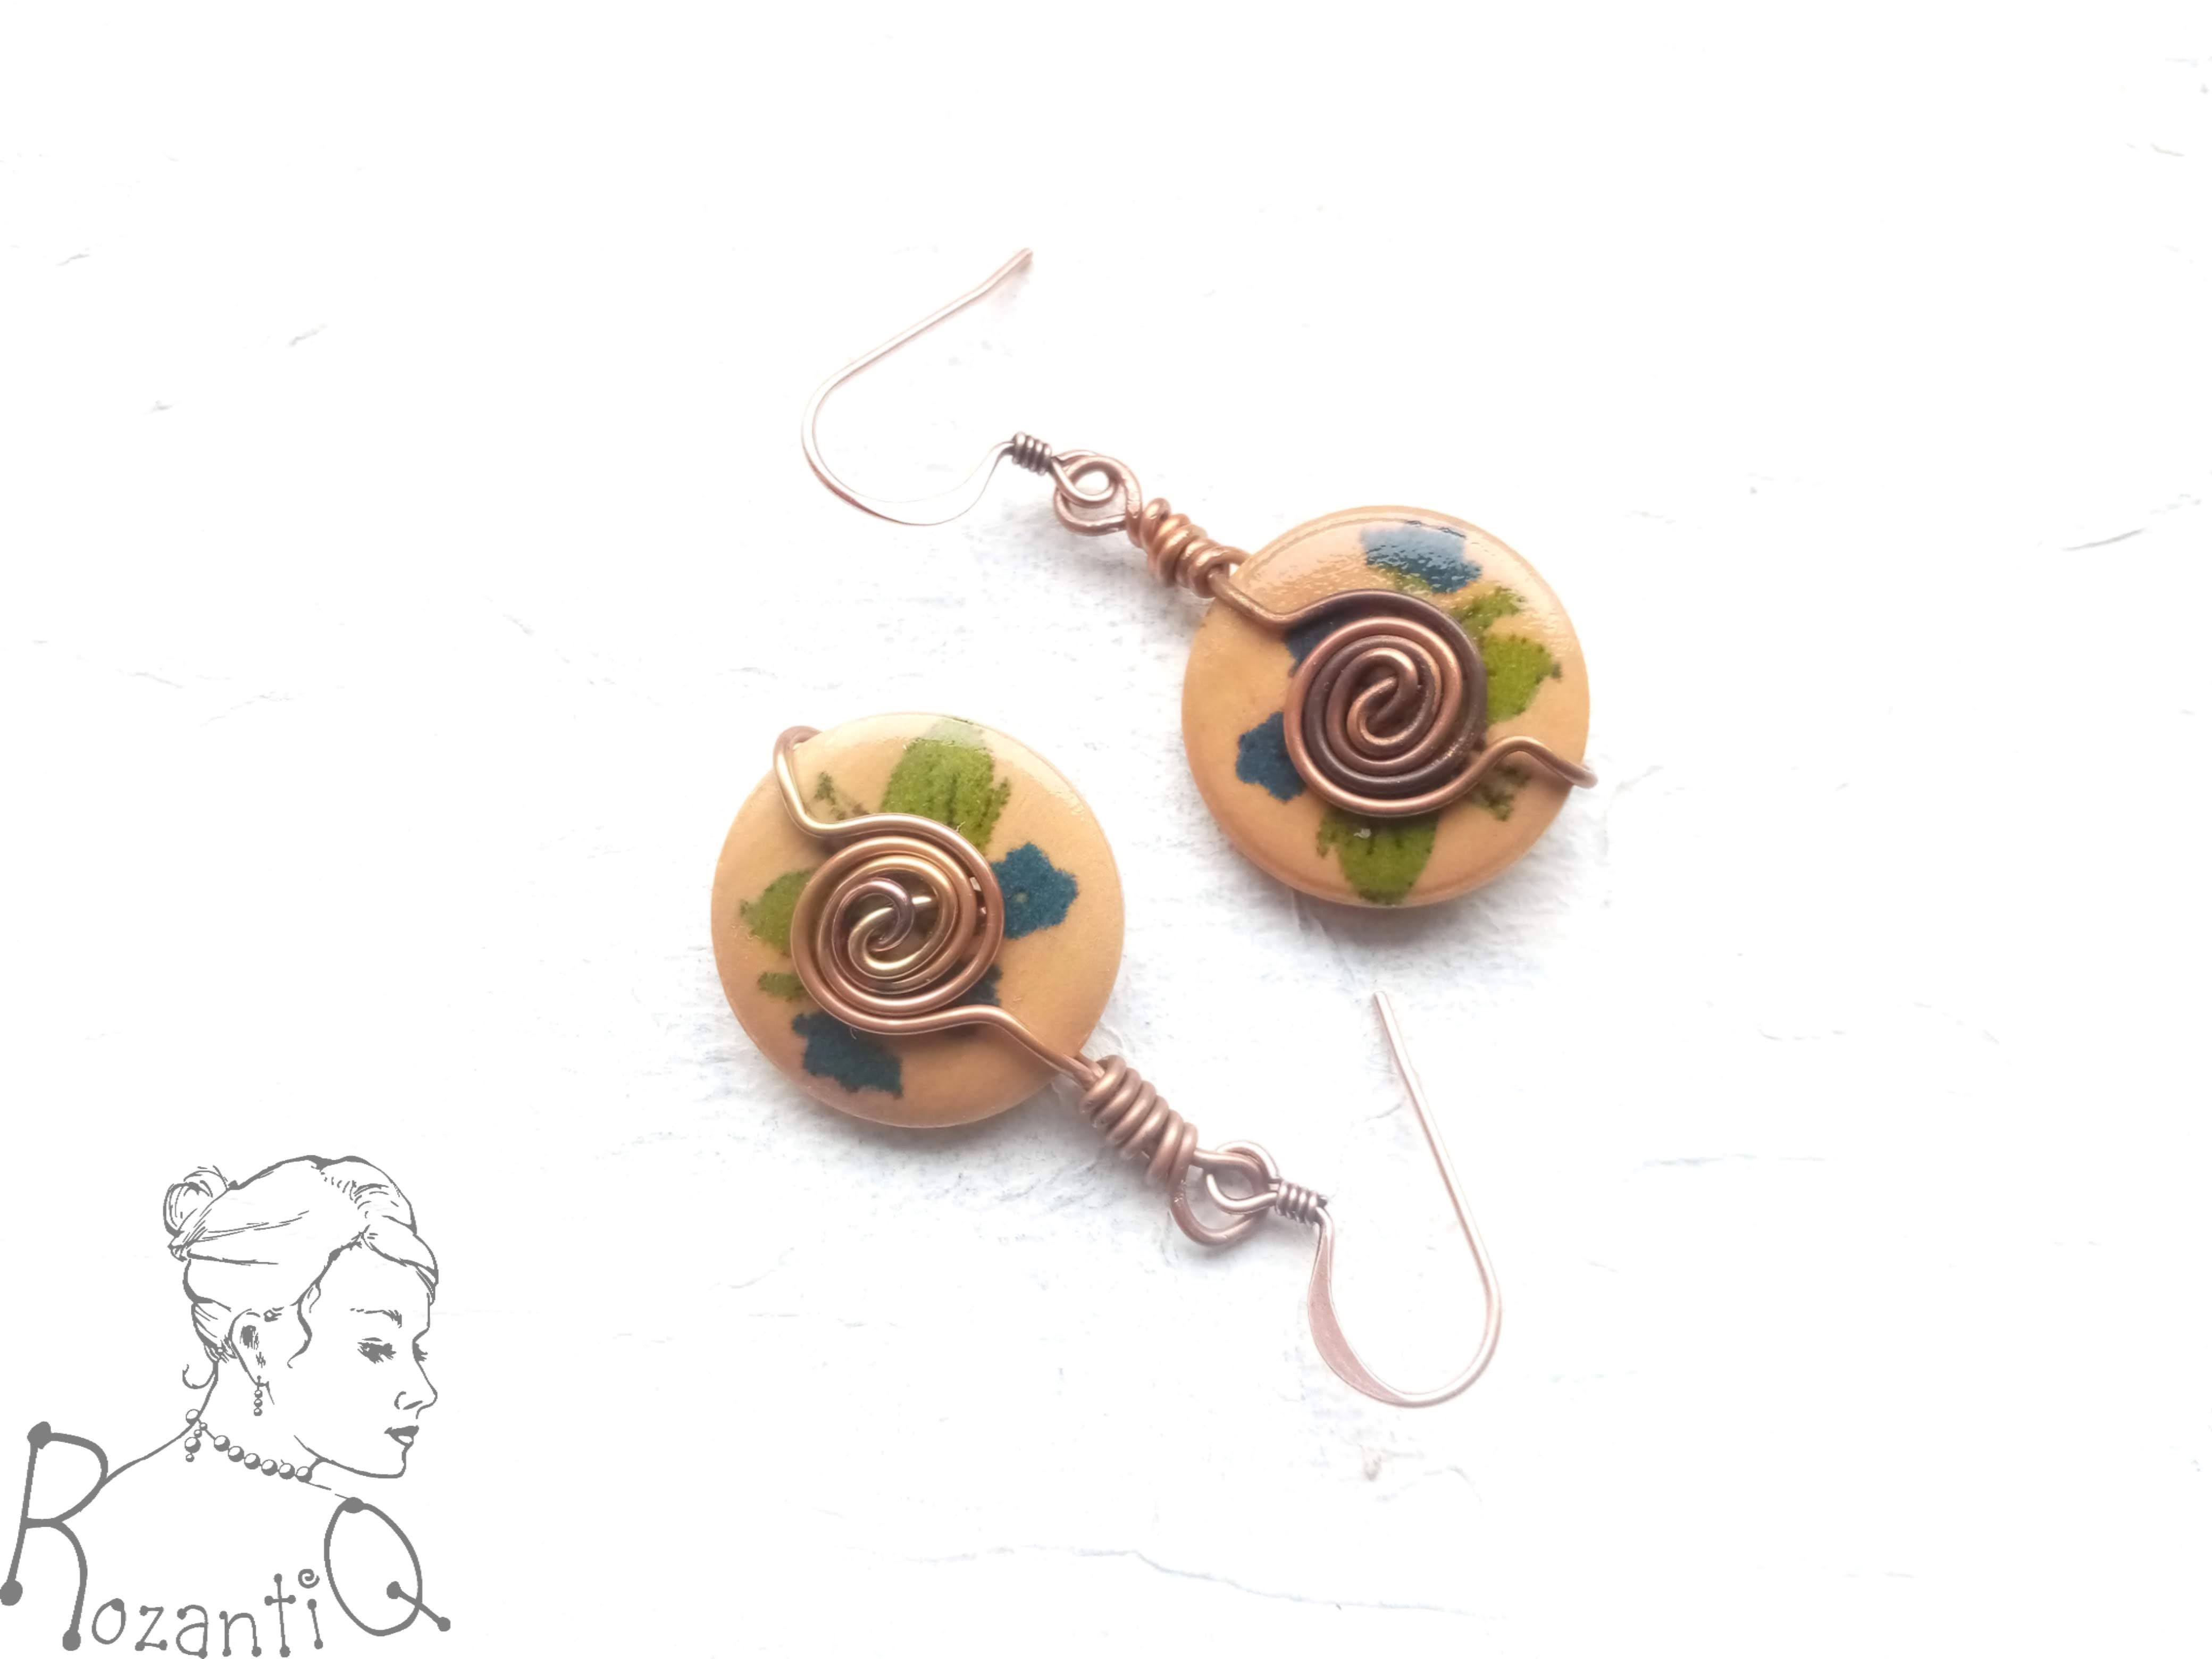
След това взимате едно от дългите парчета тел и го прегъвате по средата. Промушвате от обратната страна през другите две дупки и започвате да правите розичка от лицевата страна. Скрийте единия край под розичката, другия вдигнете нагоре успоредно на този от обратната страна. Отрежете едната тел и направете ушенце с другата точно над отрязаното. Увийте дългия край около двете парчета тел. Готово! Ще ви призная нещо - през цялото време се чудих защо телта е толкова твърда, а то бях забравила да я нагрея с газова горелка :) Затова и розичката не се получи много добре.
Next, take one of the long pieces of wire and bend it in the middle. Push it from back to front through the other pair of opposite holes. Start making a rosette to cover the holes. Tuck one end under the rosette and bend the other parallel to that first one from the back. Cut one of the pieces and make a loop with the other one just above it. Wrap the long end around both pieces of wire. You've got yourself a dangle! Here's a confession - I used cable-stripped wire that I forgot to soften with gas burner and it was hard. So, please, excuse my rosette :)

Как изглеждат нещата с копчета с две дупки? Прегънете другото дълго парче тел по средата и прекарайте през дупките от обратната страна. Направете розичката, като оставите по-дълги противоположни краища. Единия край прегънете към обратната страна и нагоре, успоредно на другия. Направете ушенце като предния път.
What about two-hole buttons? Fold the other piece of wire in the middle and feed though the holes from back to front. Start making a rosette, leaving two longish ends opposite to one another. Bend one end towards the back and up parallel to the other end. Make a loop like previously.

Here are some helpful videos on making wire loops and wire rosettes.
I remember wanting to do this wire twist on some button earrings and gave up because I couldn't get them to sit right. I have no idea why I never revisited that idea then. But seeing this tutorial makes me want to hunt some buttons down and try it. Thanks for sharing Rozantia.
ОтговорИзтриванеThe wire rosettes look easy but you need soft wire (0.6 mm/22 Ga) and strong hands. They don't work out for me every time, too :)
Изтриване